

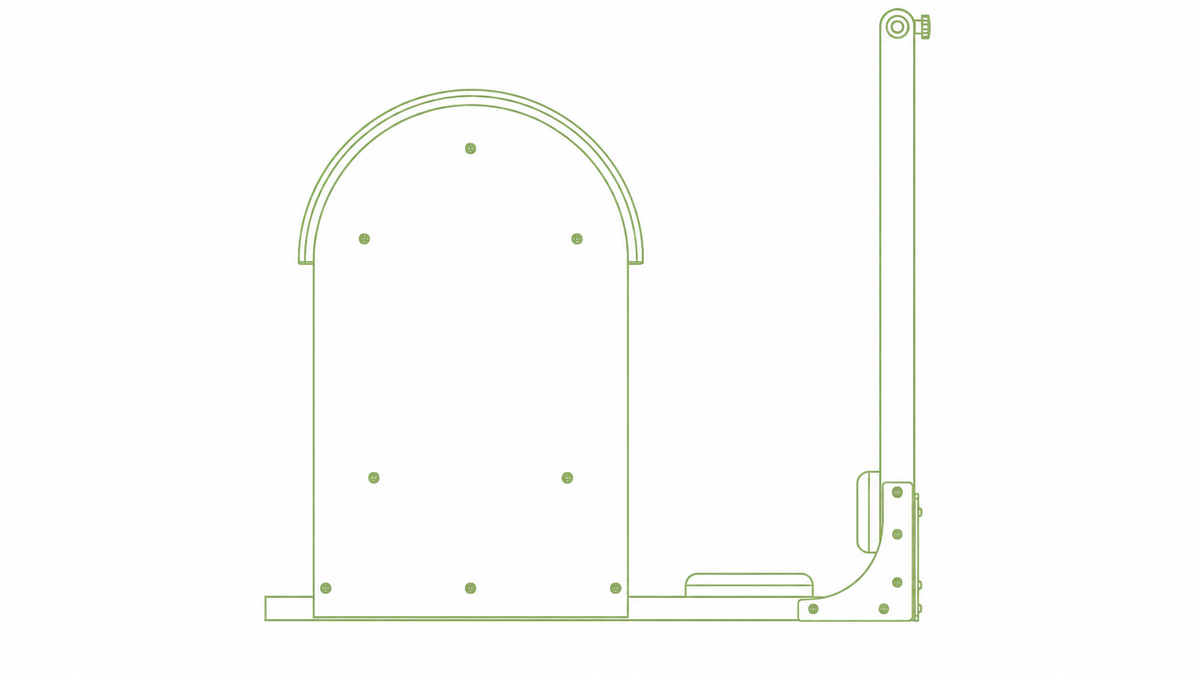
Use this guide to assemble your Pilates Ladder Barrel, adjust the ladder position, and keep your equipment in good condition. Please read all safety instructions before assembly or use. You can bookmark this page for future reference or contact our customer support team to request a downloadable PDF version of the user manual.
Contents
01/ Safety Instructions
02/ Product Overview
03/ Packing List
04/ Assembly Notes
05/ Final Safety Check
06/ Adjustment Instructions
07/ Maintenance & Care
08/ Storage
09/ After-Sales Support
Safety Instructions
Your safety is our top priority! Read all instructions carefully before using the equipment.
Before Use:
· Maximum one user at a time.
· Keep children away during assembly and use.
· Place the equipment on a flat and stable surface.
· Do not stand directly on the curved cushion.
· Inspect all screws and moving parts regularly.
· Do not use the product if any screws are loose.
During Use:
· Perform movements slowly and with control.
· Do not jump or apply excessive impact to the equipment.
· Keep fingers away from moving adjustment areas.
Weight Capacity:
Maximum User Weight: 330 lbs / 150 kg
Important Note:
Stop immediately if you feel dizzy, uncomfortable, or experience pain during exercise.

Product Overview
The Pilates Ladder Barrel is designed for stretching, core strengthening, posture correction, spinal mobility, and flexibility training.
Product Features:
- Solid wood frame
- Stable structure
- High-density cushion
- Smooth wooden finish
- Adjustable ladder distance
- Suitable for home and studio use
Product Components
1. Side Frame
2. Sliding Adjustment Rail
3. Ladder Frame
4. Curved Metal Bracket
5. L-Shaped Metal Bracket
6. Upper Cushion Board
7. Side Wooden Panel
8. Wooden Support Rod
9. Curved End Cushion
10. Balance Bar
11. Lower Cushion Board

Packing List
If any parts are missing or damaged, please contact our after-sales support team immediately.
1. Side Frame × 1
2. Sliding Adjustment Rail × 2
3. Ladder Frame × 1
4. Curved Metal Bracket × 2
5. L-Shaped Metal Bracket × 2
6. Upper Cushion Board × 1
7. Side Wooden Panel × 2
8. Wooden Support Rod × 2
9. Curved End Cushion × 1
10. Balance Bar × 1
11. Lower Cushion Board ×1
4 Sets of Hardware Accessories

Assembly Notes
Do not fully tighten all screws until all parts are aligned. Two people are recommended during assembly.
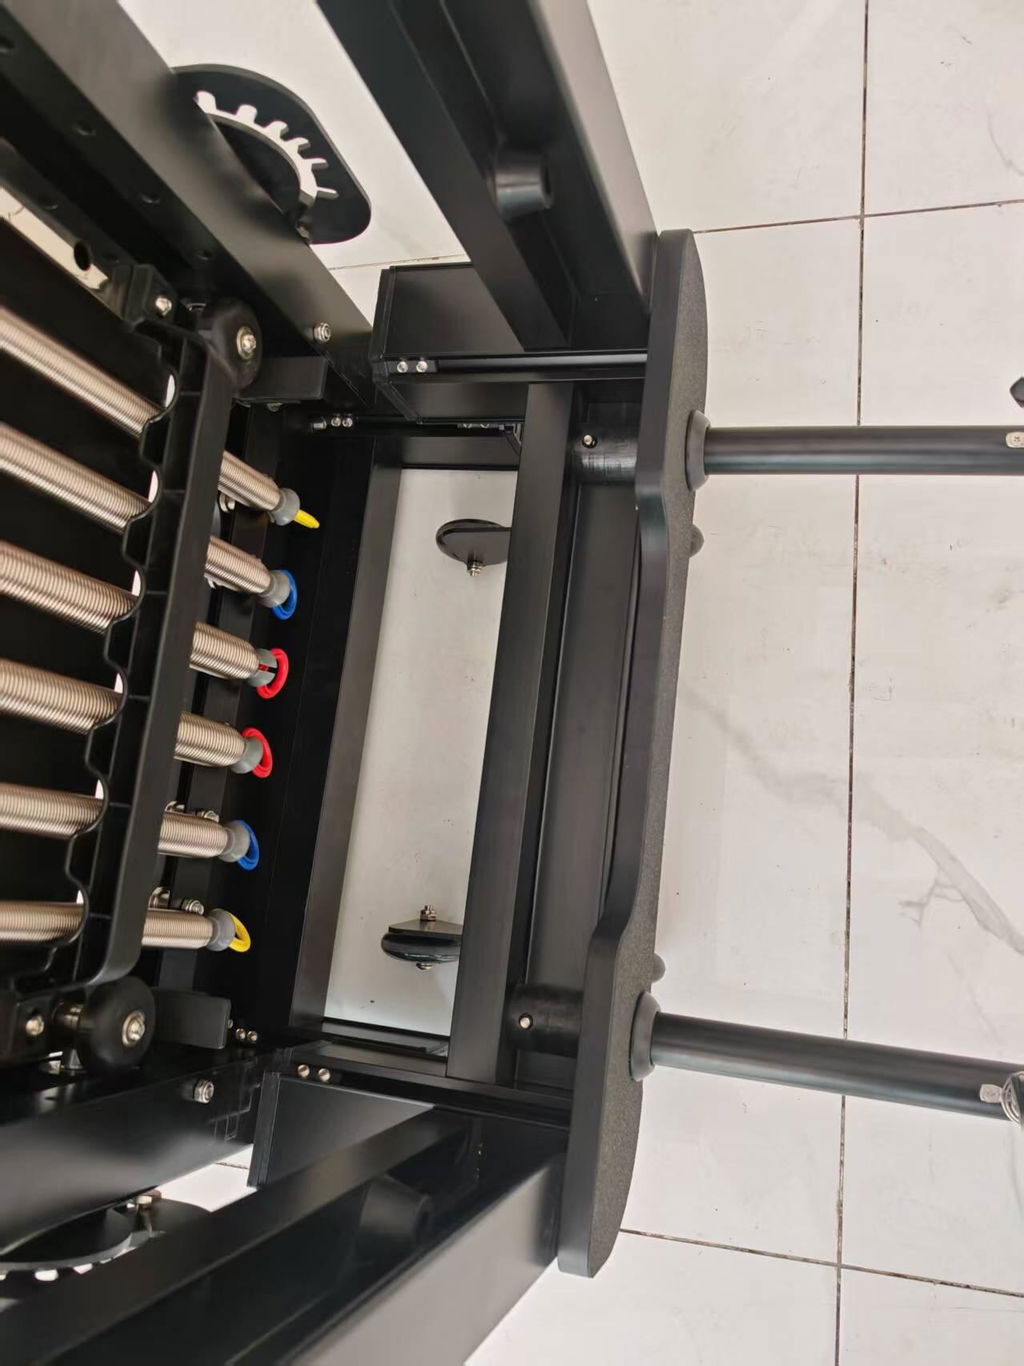
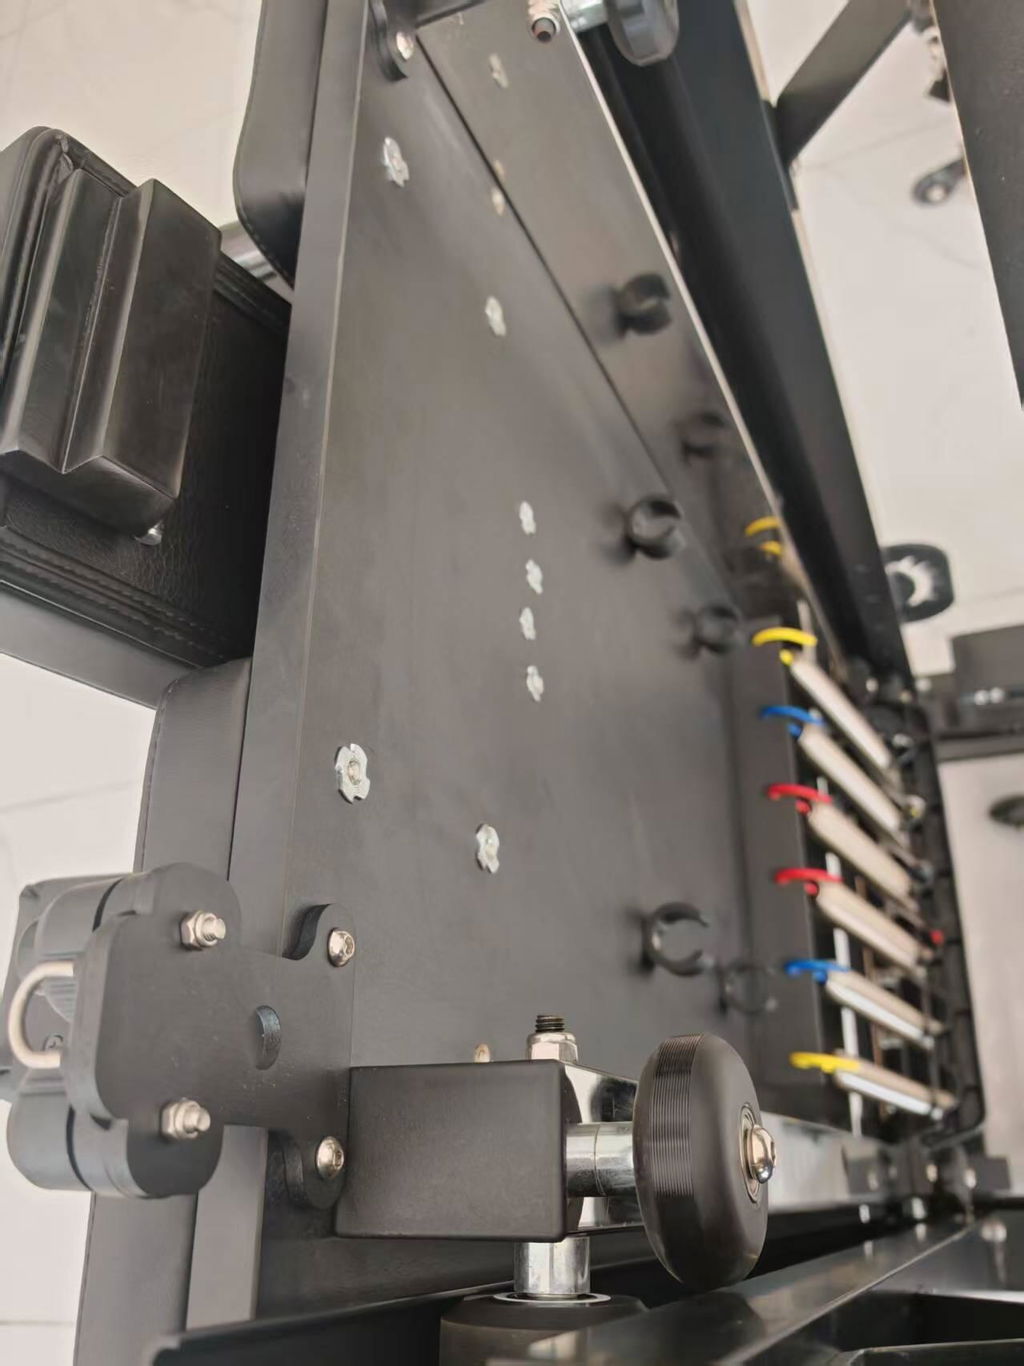
01 Install The Sliding Adjustment Rail
Parts Required
Sliding Adjustment Rail ×2
Side Frame ×1
Hardware Required(Use hardware from Bag No.1)
Bolt ×4
Washer ×4
Nut ×4
Star Knob ×4

1.Place the side frame flat on the floor with the inner side facing upward.
2.Insert the bolt with the washer through the mounting hole, then screw on the nut.
3.Align the two sliding adjustment rails with the mounting holes on the side frame.
4.Note: The narrow side of the sliding adjustment rail should face inward, as shown in the photo.
5.Insert the bolts through the frame and sliding rails.
6.Install the washer and tighten the nut onto the bolt.
7.Tighten the star knobs securely by hand.(Repeat the same steps on the other side.)
8.Make sure both rails are parallel and can slide smoothly before continuing assembly.
02 Connect The Ladder Frame To The Side Frame
Parts Required
Ladder Frame ×1
Side Frame Assembly ×1
Hardware Required(Use hardware from Bag No.2)
Bolt ×3
Washer ×3

1.Position the ladder frame against the side frame assembly completed in Step 1.
2.Align all mounting holes carefully.
3.Insert the bolts through the connected wooden parts.
4.Install washers and nuts at all required connection points.
5.Tighten all bolts securely using the provided tools.
6.Check that the frame structure is stable before proceeding to the next step.
03 Install The Curved Metal BracketParts Required
Curved Metal Bracket ×2
Continue using hardware from Bag No.2
Short Bolts ×8
Long Bolt ×2
Nut ×2
Washer ×2

1.Position the Curved Metal Bracket against the frame assembled in Step 2.
2.Align all mounting holes carefully.
3.Use the four short bolts for the lower four mounting holes.
4.Use the long bolt and nut for the top mounting hole.
5.Tighten all screws securely before proceeding to the next step.
04 Install The L-Shaped Metal Bracket
Parts Required
L-Shaped Metal Bracket ×2
Continue using hardware from Bag No.2
Short Bolts ×8
Long Bolt ×2

1.Position the L-Shaped Metal Bracket onto the opposite side of the frame assembly.
2.Align all mounting holes carefully.
3.Use the four short bolts for the lower four mounting holes.
4.Use the long bolt with the washer for the top mounting hole.
5.Tighten all screws securely before proceeding to the next step.
05 Install The Side Wooden Panel
Parts Required
Side Wooden Panel ×2
Use hardware from Bag No.4
Long Bolts ×6
Washers ×6
Nuts ×6

1.Align the side wooden panel with both sides of the frame assembly.
2.Start by installing the lower three mounting holes first.
3.Use the longest bolts from Bag No.4 together with washers and nuts.
4.Tighten all screws securely after alignment is completed.
5.Repeat the same installation steps on the other side.
06 Install The Wooden Support Rods
Parts Required
Wooden Support Rod ×2
Use hardware from Bag No.4
Medium Bolts ×4

1.Position the two wooden support rods between the two side wooden panels.
2.Align the mounting holes on both ends of the rods carefully.
3.Use the medium bolts from Bag No.4 to secure the rods.
4.Two rods require a total of four screws.
5.Tighten all screws securely before proceeding to the next step.
07 Install The Curved End Cushion.
Parts Required
Curved End Cushion ×1
Continue using hardware from Bag No.4
Medium Bolts ×6

1.Position the curved end cushion onto the end section of the frame assembly.
2.Align all mounting holes carefully before tightening.
3.Use the medium bolts from Bag No.4 for installation.
4.Each side requires three screws.
5.Tighten all screws securely and check that the cushion is firmly installed.
08 Install The Balance Bar
Parts Required
Balance Bar ×1
Use hardware from Bag No.3
Star Knobs ×2

1.Position the Balance Bar into the designated mounting holes at the front of the Ladder Barrel.
2.Align both sides carefully before tightening.
3.Secure the Balance Bar using the star knobs from Bag No.3.
4.Tighten both star knobs securely by hand.
5.Make sure the Balance Bar is level and stable before use.
6.Place the final cushion board onto the frame.
Final Safety Check
1. Check that all bolts and star knobs are securely tightened.
2. Make sure the sliding adjustment rails move smoothly.
3. Confirm the wooden rod, cushions, and side panels are stable before use.

Adjustment Instructions
Loosen the star knobs to adjust the ladder position.
Tighten securely before use.

Maintenance & Care
Wipe with a dry or slightly damp cloth.
Avoid direct sunlight and humid environments.
Do not use strong chemical cleaners.
Regularly inspect screws and moving parts.
Storage
Store indoors only.
Keep away from water.
Avoid placing heavy objects on the cushions.
After-Sales Support
If you have any questions about assembly, usage, or accessories, please don’t hesitate to contact our customer support team.
Share:
Pilates Combo Chair Assembly Instructions and User Manual